Photo by Nadezhda Moryak from Pexels
Intro by Lynne Adam, Genuine North
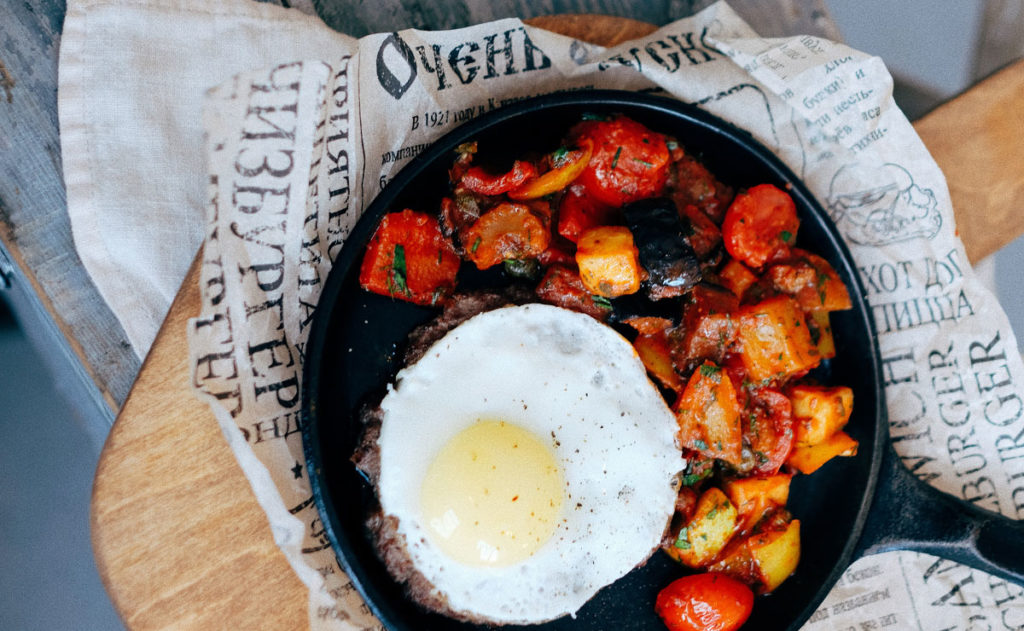
Oh Canada, the land of the North, meaning often cold. One way we enjoy warming up is with hot and steamy comfort food. We love a great camp fire cook-out too! There is one cooking tool that gets this job done, it’s totally timeless if you take care of it, the Cast Iron Pan. It’s true these days they can be a bit of an investment to purchase, worth it for sure, but not necessarily an option for us all. If you’re in the market for NEW Check out the line-up from Lodge Cast Iron.
If you are able to thrift or find a hand-me-down skillet then you’ll want to read the post below from Cindy at KitchenNish.com, it will guide you through seasoning your pan, help you bring a rusty pan back to life, and help it last you a lifetime of delicious cooking. I want to let you know, loving and caring for cast iron is a bit of a commitment, you need to do it right, and it can take time. Some find the process almost therapeutic, be sure to review all the steps carefully and carve out the time to pay attention to it. Not a middle of the day, multi-tasking, kind of job.
Now onto the ‘How To’!
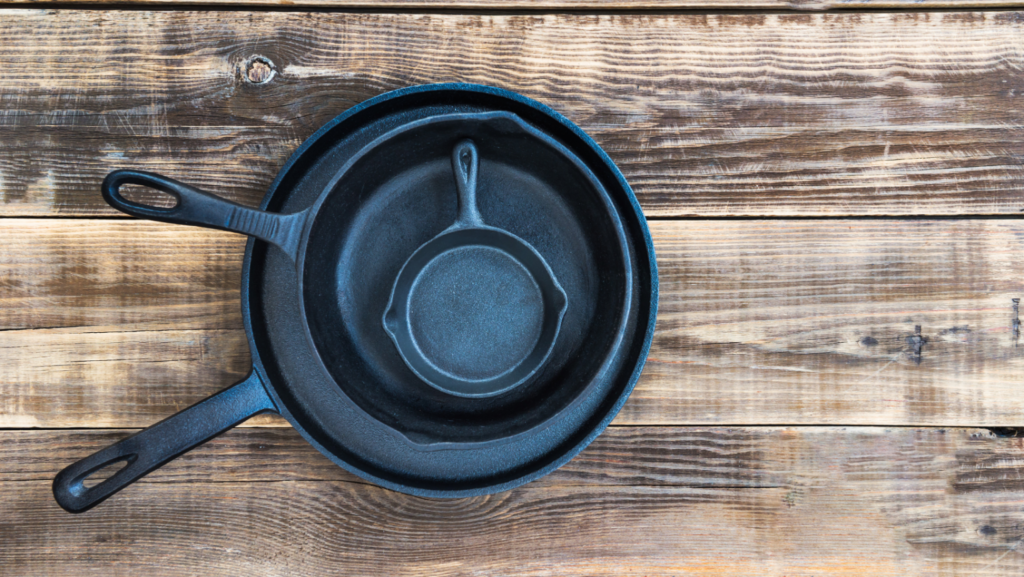
Photo by Caleb Oquendo from Pexels
How to Season Cast Iron Pan (New and Rusty)
Original Post by Cindy, KitchenNish
The logic of seasoning cast iron pan is heating up some oils at a very high temperature in it. The oils would transform into molecules absorbed on the surface of the cast iron pan. And these molecules form a protecting layer for the cast iron pan. The layer will keep cast iron pan from the corroding of the oxygen and moisture in the air and having rust.
However, you may have some questions about it. Like what kind of oil we can use for seasoning cast iron pan, what exactly the temperature should be, any difference between seasoning a new cast iron pan and doing on a rusty one, and what the detailed steps are.
No worries, I will answer all these questions for you in the following. And I am very sure they will work in your kitchen because I have tried them all on my own cast iron pan. Now let’s dive right in.
Part 1: How to Season Cast Iron Pan
In this part, I will mainly tell you how to season a new cast iron pan or one that you have been using but are not happy about the seasoning. If what you are looking for is about how to season a very old, has not been used for a very long time, seasoning flaking, or even rusty cast iron pan, you can scroll to part 2.
Nowadays, most cast iron brands designed their products with pre-seasoning before selling them to customers. However, some people dislike the seasoning applied at the factory, but prefer to strip it down and apply the seasoning themselves. This is fine. By seasoning your new cast iron pan yourself, it can make your cast iron pan more protected and get the best results. And here are the how-to steps.
Step 1. Wash and Dry the Cast Iron Pan Thoroughly
We can use the dish soap and hot water to scrub your cast iron pan. What you need to notice here is scrubbing the whole pan, including its top, bottom, sides, and even the handle. Then rinse it and use a towel to dry it. But by that, we cannot remove the liquids completely. Then we need to move the pan into the oven under low heat (200°F or so) to completely dry for like 10 minutes. We can also do this on the burner of a stove top. After you are pretty sure it is completely dried, we can move to the next step.
Step 2. Rub the Cast Iron Pan All Over With Oil
Make sure the cast iron pan is cool, and now you can wipe a thin coat of oil on all surfaces, its top, bottom, sides, and the handle. There is no need to use too many oils on it. Then take a clean paper towel and wipe off as many of the oils as you can. Try your best to get every single bit of oil off. If one paper towel cannot make it good, you can use another one or more paper towels to do it. The aim is that we want to get the thinnest possible layer of oil.
About the oil, we may need to talk about more. Basically, all cooking oils and fats can work for seasoning. However, there are some differences. When we choose which kind of oil we can use for seasoning cast iron pan, basically we need to care about two features: its smoke point and flavor. The seasoning is about polymerization. It only happens when the temperature hits the oil smoke point. If the oil smoke point is low, we can polymerize them quickly. As for the flavor, some kinds of oils will leave some smells to the cast iron pan after using them for seasoning.
Personally, I would strongly recommend vegetable oils as the best option. Because it has quite a reasonable smoke point (400°F) and neutral flavor. We can also use lard and which is popular among users of cast iron. But the issue about it is that you need to use your cast iron pan frequently if you use lard to season the cookware. If you store it somewhere for a long period, the cast iron pan will oxidize very quickly. Similarly beef and pork work the same way.
Recently, people tend to use flaxseed oil to season cast iron pan. Flaxseed oil has a very low smoke point (225°F), even lower than the vegetable oil. It will give a much harder finish on the seasoning. However, it is not with a neutral flavor and the smell was indescribable.
Step 3. Bake the Cast Iron Pan in Oven or Somewhere Else
After you finish the oil rubbing work, you can now move the cast iron pan into the oven and position it upside down, for the polymerizing. Please set the temperature at 400-450°F (if you choose vegetable oil) for 1 hour. There is no need for higher temperature.
There are some exceptional cases. If you don’t have an oven, or the oven is broken, you can do the job on a stove or a barbecue grill. If your cast iron pan is with a wooden handle and not removable, or it is too big for the oven, you can also use the stove or grill. However, to be honest, based on my experience, the stove and grill ways are not as good as the oven way. Because the oven provides even heat which will polymerize the oil on the cast iron pan surface more effectively and efficiently.
Step 4. Repeat the Steps 2 and 3 for 4-6 Times
After you finish the step above, remove the cast iron pan and let it cool to the room temperature. After that, we need to follow steps 2 and 3 for another 4-6 times. By this, we can make the seasoning much harder. And then you just finish seasoning your cast iron pan. To test how well the work has been done, you can use the cast iron pan to fry an egg and see if it is sticky.
What If Seasoning Cast Iron Pan Fails?
There are possibilities that you may fail seasoning your cast iron pan. It mostly happens when people choose lard for seasoning it and there is a black spot on it. First of all, there is no need to worry about it. We can fix it. The black spot is iron oxides. We can pour some vinegar and boil it. It would disappear. Then you can re-season it.
Part 2: How to Season Rusty Cast Iron Pan
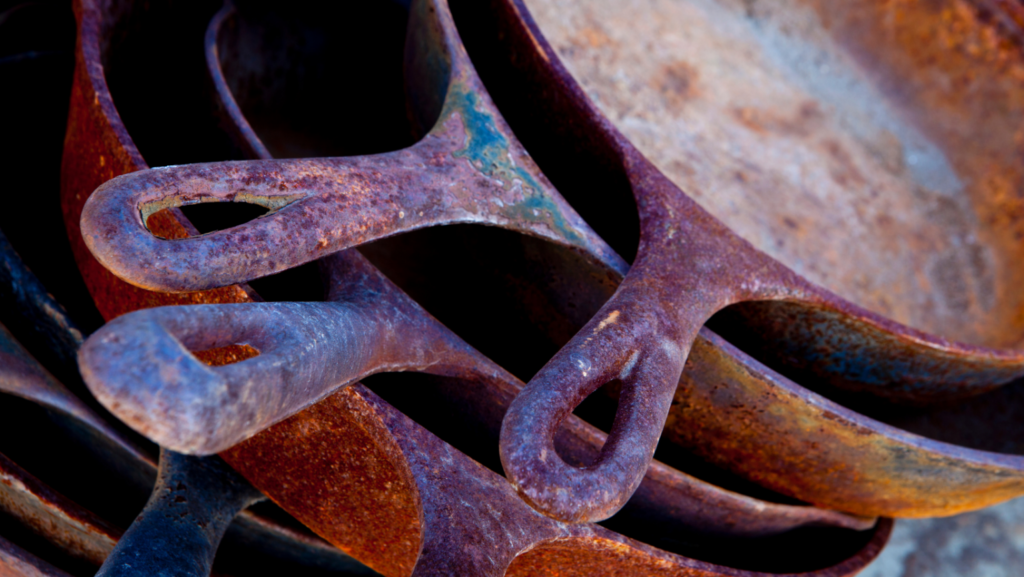
The difference between seasoning a rusty or seasoning-flaking cast iron pan and a new one is that we need to remove the rust and restore the cast iron pan first. After you finish removing the rust, you can just follow the steps shown in the last part. Anyways, here are the details about how to remove the rust.
Step 1. Remove the Old Seasoning
Just take all your cast iron pans outside. This is because we will use some chemicals. With your gloves on, spray them abundantly with the oven cleaner. Then put each cast iron pan in a plastic trash bag and let it sit for 24 hours.
Step 2. Remove the Rust
Then take them out of the trash bags and scrub it like crazy with a steel scour pad. The sandpaper can also be a good alternative. Then rinse it with soap, hot water, and sponge. If the soap does not work very well, you can also try vinegar.
Step 3. Re-season the Cast Iron Pan
Now you can scroll back up to Part 1 above and follow the steps to re-season your cast iron pan.
What to Do Next?
After we finish the seasoning, it does not mean it will last forever. We can do some extra work to maintain the seasoning. Frequent usage is obviously the first one, especially if you season it with some animal oil. Every time before you use it for cooking, you can preheat the cast iron pan. Another practice of mine is that we can occasionally cook with recipes to prolong the seasoning lifespan, like caramelized onions, roasted carrots with maple and coriander, cornbread, bacon, and skillet-roasted chicken with shallots and herbs.
BTW, these steps are also working for other cast iron cookware.
If you’ve made it this far, great job! We wish you the best of luck on your Cast Iron adventure. You can also read up on National Cornbread Month, which gives you an idea of what to cook in your cast iron. Be sure to share your photos and stories with us, we’d love to know how your pans turned out. Thanks to Cindy for sending this over, and happy seasoning all! – Lynne

Comments